How to enable spam filter in Thunderbird
Thunderbird is an open-source email client that includes a powerful spam filter designed to help users automatically filter out unwanted spam messages.
The spam filter in Thunderbird uses a combination of techniques to identify and filter out spam messages, including:
- Bayesian filtering: Thunderbird uses a Bayesian algorithm to learn from your email behavior and identify patterns in the messages you receive. Over time, this can help the spam filter become more accurate in identifying spam messages.
- Blacklists and whitelists: Thunderbird includes a built-in list of known spam senders (blacklist) and trusted senders (whitelist) that can be used to filter out or allow certain messages.
- Message headers and content analysis: Thunderbird analyzes message headers and content to identify suspicious patterns and characteristics that are commonly associated with spam messages.
- Phishing and scam detection: Thunderbird includes a feature that can help detect phishing and scam messages by analyzing the content and links in the message.
The spam filter in Thunderbird can be configured to suit your needs, with options to adjust the sensitivity level of the filter and customize the behavior of the filter for different types of messages. By default, Thunderbird moves suspected spam messages to a separate spam folder, where they can be reviewed or deleted as needed.
Overall, the spam filter in Thunderbird is an effective tool for helping users automatically filter out unwanted spam messages and protect against phishing and scam attacks.
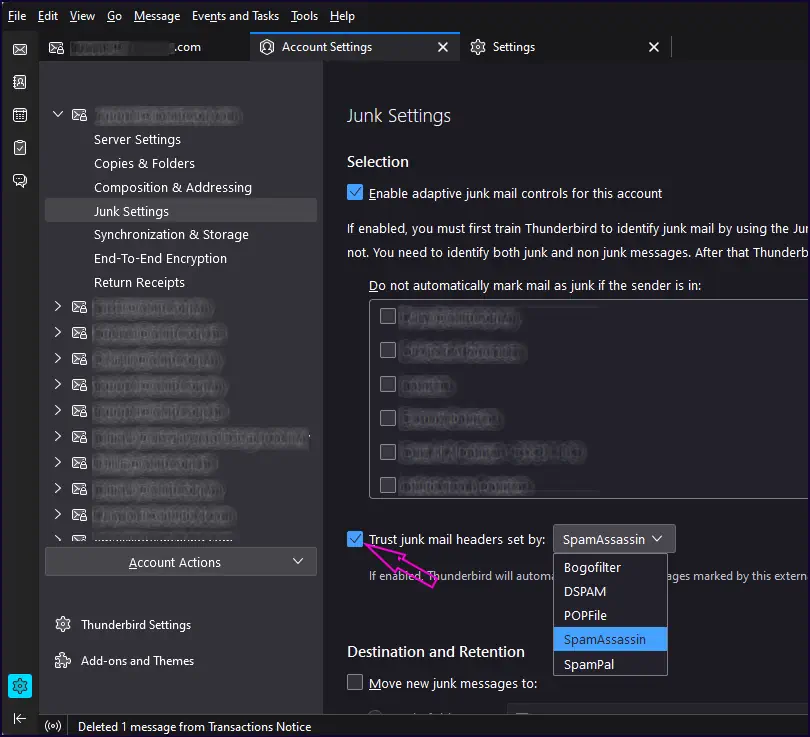
To enable the Junk Filter in Thunderbird, follow these steps:
- Open Thunderbird and select the email account that you want to enable the Junk Filter for.
- Click on the “Tools” menu in the top menu bar, then select “Account Settings”.
- In the Account Settings dialog box, select the “Junk Settings” tab.
- Check the box next to “Enable adaptive junk mail controls for this account” to enable the Junk Filter for this account.
- Choose a Junk Filter level from the drop-down menu. The options are “No Automatic Filtering”, “Low”, “Medium”, and “High”. The higher the filter level, the more aggressively Thunderbird will filter out potential spam messages.
- Choose what Thunderbird should do with messages identified as junk. You can choose to move them to a Junk folder, delete them automatically, or mark them as read.
- Click “OK” to save your settings and close the Account Settings dialog box.
Once the Junk Filter is enabled, Thunderbird will automatically filter incoming messages based on the settings you selected. You can review messages that have been identified as junk by checking the Junk folder in Thunderbird. If Thunderbird has identified a message as junk incorrectly, you can mark it as not junk by selecting the message and clicking the “Not Junk” button in the toolbar.